Are you tired of dealing with problems in church broadcast audio? Every week, you seem to have issues like distortion, loud bass or low-end, the mix seems thin, you can’t hear the instruments, or a plethora of other issues. Want to make sure you eliminate these problems and more? Read on!
Introduction
Praise God for technology and the ability it has given us to spread the message of Jesus to the world. Not only is technology at this point, but churches can easily access these tools to put their services online. Unfortunately, the majority of churches have not developed a system that will produce great audio consistently. There seems to be a lot of problems in church broadcast audio and it may seem daunting to try and fix every issue. The good news, however, is that you can fix almost every problem with simple fixes. Let’s explore the problems in church broadcast audio and their solutions.

Some of the links on this page are affiliate links, which means I may earn a small commission if you make a purchase through them. This comes at no additional cost to you. Additionally, these are products that either I have personally used or am very familiar with and stand by their performance. Thank you for supporting my website!
I’ve recommended products that have personally helped me solve problems in church broadcast audio throughout my years of experience.
What Is Different About Online Audio from In-Person Audio?
Before we dive into specific problems in church broadcast audio, let’s understand what makes online audio different from in-person sound. I do believe you can get an incredible mix in any situation and I also believe that you don’t need to drastically change your approach to how you mix based. You can have the same workflow and processing for online and in-person scenarios. Many people give advice and teach very specific techniques that don’t work in every situation. One of my Core Values is that the system I teach and methods I use has to be repeatable. Although I believe there are a lot of similar mixing techniques, there are some differences
Difference #1: The Playback
Your online audio will be heard through various devices – smartphones, tablets, TVs, and computers – each with different audio capabilities. Professional recordings are mixed to sound good on all devices, and your church audio should follow the same principle.
Think about it, every single piece of music that is recorded and released has to sound good on every device. However, the recording and mixing engineers don’t have a different mix for a TV, and iPhone, etc. We need to mix the same way. Using appropriate monitoring solutions helps you accurately identify problems in church broadcast audio before they reach your online audience.
Difference #2: It Tells the Truth
The unfortunate side of online audio is that it can be very unforgiving. What you could get away with in-person (out of tune guitar, vocals, etc) is very noticeable online. This is a great opportunity for the musicians and singers to be intentional with their gifts. It also shows how your mixes translate in the digital world. It is an opportunity to improve your skills as an engineer.
Difference #3: The Low-End
Judging the low-end for online is very different that in-person. You may be used to hearing more bass in the house but that same level will distort the mix online. This will take some training by listening to your playback system with professionally mixed records and judge the low-end in those mixes with your own.
These three key differences contribute to many of the problems in church broadcast audio that churches face today. Understanding them is your first step toward better online sound.
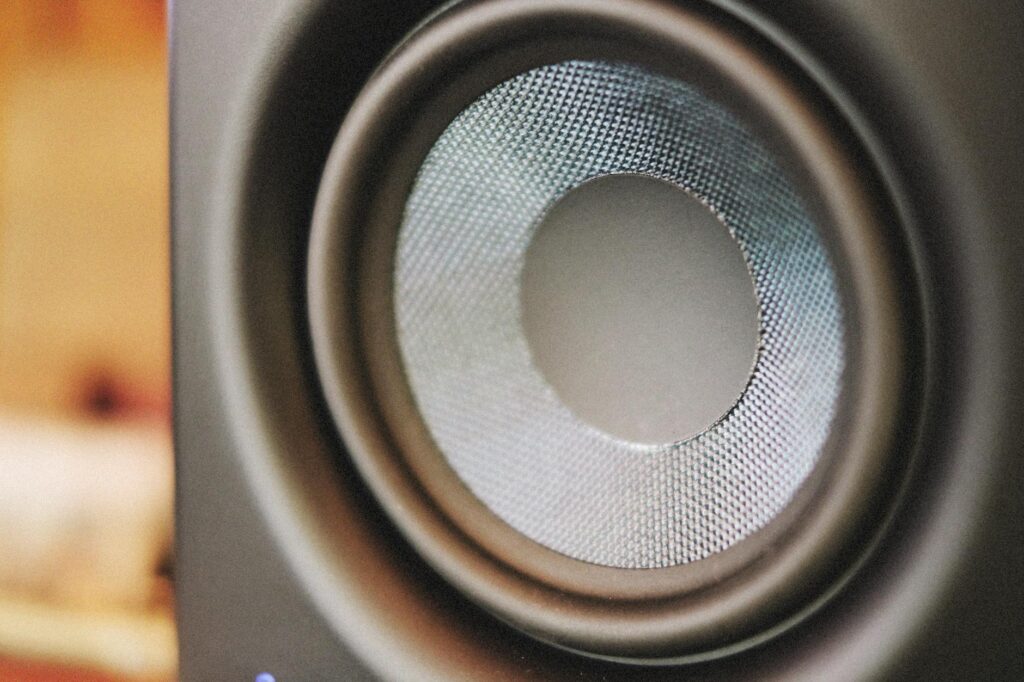
Monitoring Recommendation: Use studio-grade headphones or monitors to accurately assess your broadcast mix.
- Yamaha HS5 Powered Speaker Pair – Very natural sounding and great for online mixing
- Sennheiser HD 280 Pro Headphones – I have had these for over a decade and these still work great. The low-end is a bit tamed so you will need to be careful to boost those frequencies too much.
- Beyerdynamic DT 770 Pro 80-ohm Headphones – These work pretty well but the midrange is tamed so watch out for that.
Church Broadcast Audio Problem #1: Distortion
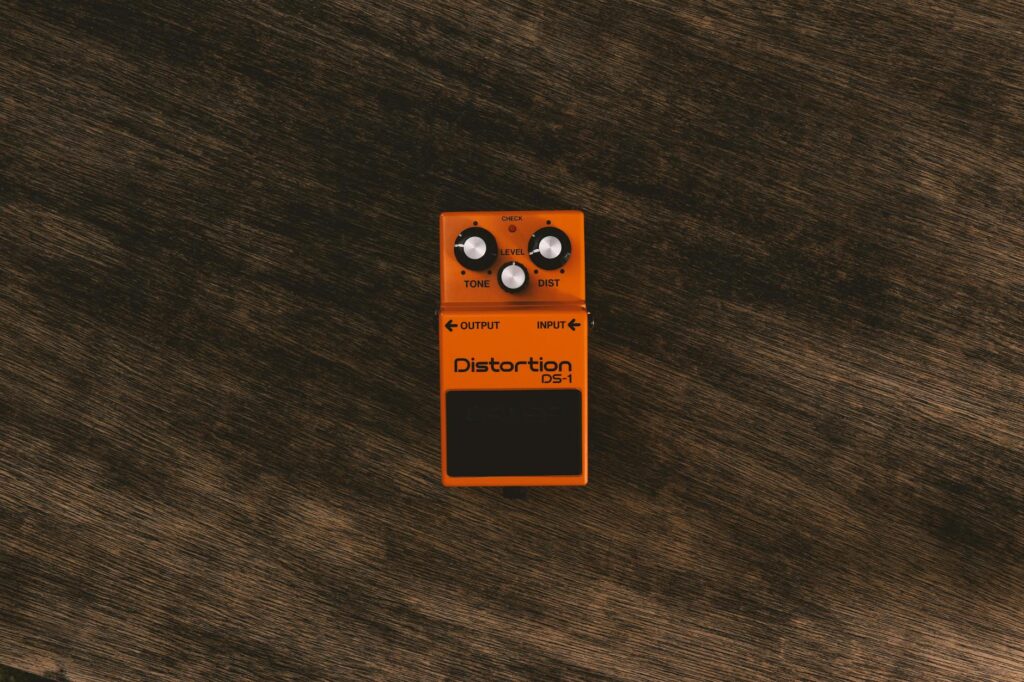
The first problem in church broadcast audio we’ll talk about is distortion. This could be distortion over the entire mix or on one or more channels. Distortion happens when the audio signal is above the allowable threshold before the distortion or clipping happens. There can actually be many different points along the signal path where distortion could happen. Let’s go down the typical signal chain, understand why distortion happens and fix the problem.
How to Find Where the Distortion is Occurring
1. The Microphone or Input Jack
The Microphone could be the source of distortion. Each microphone has a range that it’s designed to function at its best. If the source is too loud or powerful then the microphone could cause distortion. You will have a difficult time exceeding the threshold on most modern made microphones, but if none of the other options below are causing distortion then you may need a different microphone for the job. If it is the microphone then you can kind of tell because it will sound like a very compressed analog sound signal.
If it’s an instrument that has an input jack to plug a 1/4″ cable then the jack itself could be the cause of distortion. You can tell it’s the jack by testing multiple cables and gently jiggle the connection on the jack. You will hear a crackle if it’s the issue. The instrumentalist needs to have their instrument checked out so it’s not much you can do.
2. The Cable
The cable could be the cause of the distortion. This one is a little bit harder to tell because the crackle sound is the same crackle as if the input jack is crackling. However, if you switch out cables and the new one is fine, then it was the cable. The simple solution is getting a new cable or you can try re-soldering the cable. It’s actually not that difficult and it is a great skill to have if you are in audio.
Here are some cables I recommend for instruments, that won’t break the budget and will last a couple of years, at least. I have purchased both of these brands and they have lasted over 5 years for me.
3. The Wireless System
This is a very overlooked aspect of church audio and actually causes a lot of problems in church broadcast audio that can be difficult to diagnose. I know this is not the case for everyone, but up until the year 2020, I had no idea that wireless systems had an optimal range that their signal needed to be at. I thought that if the meter went all the way up, then it was good. I remember I was having constant issues with a couple of vocalists with distortion but the gain levels were fine and the microphones were sE V7 and the Sennheiser Wireless System. I knew the microphone could handle the loud SPL but the signal was still distorting. I finally read the wireless system manual and found out that there was a recommended setting. The input signal into the wireless system had to live between -18 and -10 dB and not to exceed -6 dB. Once I made my adjustments by turning down the input signal, everything was fine.
4. The Preamp
This is where most people can easily see if their signal is distorting. You will see a bright flashing red light on your console telling you that you are clipping the signal. This solution is easy, just turn down the gain. However, if you want to eliminate this as being a potential issue entirely, then read my article Gain Structure: 6 Steps To Get The Best Results and download the free resource for proper gain structure.
There seems to be some misconception about gain levels and gain structure when it comes to audio in the digital world. All musical equipment is designed to work with audio coming into the equipment at line level.
When you are mixing in your DAW or a console for broadcast, you are mixing a “raw” signal. This signal needs to be adjusted to line level. This is where the Gain knob comes in. You will be able to adjust the level to make sure the source is good.
Multitracks or stems are the exception, because they were recorded at their intended levels so you just need to adjust the levels to sit right in the mix. For the other channels here are some principles to know how to set gain.
- The more percussive the instrument is (drums, percussions, unprocessed clean guitars) will have higher peak values to get them to line level.
- The more saturated the tone, the louder they will be at lower peak values (distorted guitars)
- Never go above -6 dBFS on the meters. This will maximize your headroom and reduce the chances of digital clipping
- Monitor gain levels on vocals between rehearsal and the live show. Singers will typically be more energetic and will sing louder.
- It is ok to change gain levels during the live show to get the source back to the levels then need to be at.
If the signal is not clipping but you hear the distortion, and it’s not one of the other issues above, then maybe the Preamp input, itself, has gone bad. This happened to me one time that I remember and I had to reorganize my setup to make sure that channel was not being used.
5. The Mix
Sometimes there is something within your mix that is causing the distortion. Maybe the compression is too aggressive on a channel, maybe you are overloading the Bus channel, or your level going into the master bus is hitting the compression too hard. One of the ways you can eliminate this problem in church broadcast audio is by having a system in place where your workflow and mixing process is streamlined, efficient, and repeatable along with proper gain structure. If you have not received this free resource, I would encourage you to sign up and transform your online mixes in 5 simple steps. Knowing your process for mixing will allow you to troubleshoot a lot more quickly and efficiently.
6. Broadcast Audio Encoder or Switcher
Probably the easiest problem in church broadcast audio to resolve is the hardware or software your church uses to broadcast. There should be an audio level indicator within the software where you can monitor the output levels. If those levels are clipping then turn it down. An easily tell because your mix will not be distorting, but the you hear it online.
You might have heard that you should have your mix at -14 dB LUFS. I am not able to unpack the reason for this audio level, but I would say that only applies to platforms that are not designed to playback music on the scale we are talking about. At the time of me writing this article, the most common platform to broadcast your church audio is YouTube. You can have your mixes go to -10 dB LUFS (maybe louder) depending on how well balanced your mix is. This goes for Spotify too. If you are streaming on pretty much any other platform then shoot for -14 dB LUFS. You DAW should have a MultiMeter plugin to monitor LUFS
Managing Levels Throughout The Broadcast Chain
We want to have a systematic approach to managing levels. Especially when addressing problems in church broadcast audio like distortion and level spikes. Try starting everything out at 0 dB or Unity. This will be your Master Out in your DAW, the audio interface you are sending your signal to the broadcast switcher, and the audio fader on the broadcast software. This gives you the starting point to work from.
If audio is too loud or too quiet at a certain point, adjust the volume at the point where it will have the least effect on the overall sound. For example, if my mix inside of Logic Pro is perfect, but the audio is too loud on YouTube, then turn down the volume on the broadcast software. You are only adjusting the volume of the overall mix instead of changing the tone and characteristics of the mix.
Church Broadcast Audio Problem #2: Loud Bass/Low-End
Let’s continue our exploration of common problems in church broadcast audio by addressing the challenges of low-end balance. This one is similar to the first problem, but it is very obvious on what is going on. The low-end is way too loud and it is distorting the whole mix. The solution is simple enough, “turn down the bass”, right? It becomes difficult because engineers struggle with judging what the right amount of low-end needs to be. You may be mixing with headphones, in a small room, or with no subwoofer, all of which makes it a challenge to mix the low-end properly.
How do we solve this problem in church broadcast audio and get a consistent, punchy, and full low-end?
- Make sure your Kick Drum is being compressed by no more than 1 dB.
- Blend in the Bass so that the Kick is slightly louder sounding than the Bass
- Bring in the rest of the band and singers and see the Mix Bus Compression. The compressor should be reducing the mix by 2-3 dB
- Pay attention to the Bass Guitar. If you can clearly hear it above the mix, then turn it down.
- Then toggle the Mute button on/off and see how different the mix is with and without the bass.
Remember that the magic is in the Mid-Range and the Bass guitar is a key component to the energy in the mid-range. You should not be able to hear the bass out in front of the band, but you can definitely tell when the bass is gone. This method should get your low-end to sit in the right spot of your mix.
I wrote a whole article from the Baseline Series dedicated on how to process the Bass and the specific frequency ranges to focus on. Baseline Series: How To Mix Bass Guitar For Amazing Results
Church Broadcast Audio Problem #3: Poor Room Acoustics

How room acoustics affect broadcast sound
Poor room acoustics is one of the most overlooked problems in church broadcast audio, yet it significantly impacts your online sound quality. This issue can occur in your broadcast mixing room or if you are mixing for both FOH and online. You will naturally cater your mix to what is happening in the room. If the vocals are on the verge of feedback, you will want to tame those. Is the low-end too strong, then reduce those frequencies. Unfortunately, your online mix will take a hit.
I would suggest primarily mixing on a good pair of headphones so you can hear exactly what your mix sounds like. You will need to find the balance of what is tolerable. (links found in What Is Different About Online Audio from In-Person Audio? Section above)
Simple acoustic treatments that make a big difference
Apply acoustic treatment in your main sanctuary is a bigger undertaken, but adding some treatment to your broadcast room will help smooth out any frequencies that tend to get out of control and reduce reflections. You can mix without treatment by putting a EQ block in your “monitor out” bus (I will write another article about how to set this up) and balance out the frequencies that are giving you trouble.
For example, I used to mix broadcast for a church where I felt like I had to boost the upper frequencies more than they should have been. The room was actually dampening those frequencies, giving me a false representation of what I was hearing. I ended up putting a boost of about 6-10 dB above 5k on the Monitor Bus so that way I would not boost more than I needed to.
If you want to add acoustic treatment and you are a DIY-er, then you can buy some Mineral Wool, fabric coverings, 1×2 or 1×4 inch wood frames and make it yourself or you could purchase these products for your mixing space.
Microphone placement strategies to minimize room issues
Sometimes it’s as simple as adjusting the mic placement, coaching proper mic technique, move the speaker and singers to a different position on stage, or you need to move the speakers. It will take some investigating to find the correct solution.
Digital solutions for poor acoustics
If you have the ability to change the EQ on the PA Speakers only without affecting your online mix, then utilizing those tools will be very effective in minimizing poor acoustic treatment.
Church Broadcast Audio Problem #4: Inconsistent Gain Levels
This can be a tricky subject with dealing with problems in church broadcast audio. Almost every small to mid-size church is doing, what is called, sharing Gain. Meaning that there is one console that is controlling the gain levels for FOH, Broadcast, and Back of House (Monitors). This is typically controlled at FOH. This introduces a problem where you, the Broadcast Engineer, have to rely on the gain structure that the FOH engineer is giving.
The problem I see constantly is that FOH, Monitors, and Broadcast mixes and processing are set up differently. This does not create consistency and repeatability and often confuses volunteer sound techs because they have to learn to mix in a completely different way depending on where they have been assigned that week. Very rarely is a volunteer running sound every week so it is harder to retain what they learned.
Building Consistency Through Collaboration
Building consistency through collaboration is crucial when tackling problems in church broadcast audio, especially in churches where gain structure is shared. If you are sharing gain, then communication is key. The audio team will need to work together to determine what the proper gain structure should be. Once that is determined, then the next step will be to set your compressor thresholds to the proper setting to get the dB reduction. That way you will know that you have the right gain every time. You will need to communicate quickly during rehearsal times to get the right gain that you need.
Section on dual console setup options for larger churches
This issue could also be for larger churches that use a networking tool, like Dante, to send audio from one source to another. This is typically shared gain structure as well. The ideal situation for larger churches is if you are able to run a split from the Preamp where one side is going to FOH and the other to Broadcast. This allows for better management of gain structure and better control of your mix.
Training tips for volunteers on consistent gain management
Training your team to recognize and troubleshoot common problems in church broadcast audio will dramatically improve your ministry’s online presence. Many problems in church broadcast audio can be resolved through proper training and establishing clear technical workflows. You will need to setup a system that is consistent and that will achieve consistently good results. The simpler you can make your processes for volunteers the better. This is also great if you are training a new staff member in audio so they understand the goals and stay within the boundaries of what you want your mixes to be. Here are a couple of tips you can use to create consistent gain structure
- Create a list of gain levels for each instrument.
- Set your Compression Threshold on each instrument to compress the amount of dB you want
- This serves as a secondary tool to use to make sure you have the right gain structure
- Give them responsibility over one group of instruments of singers instead of the whole band.
- This will help build confidence so you can add more responsibilities over time.
Church Broadcast Audio Problem #5: My Mix is Thin/No Energy

Creating energy in your mix addresses one of the most common problems in church broadcast audio that viewers notice immediately—a thin, lifeless sound that fails to engage. There are plenty of broadcast videos where the mix has no energy, you can hear any instrument other than the piano or acoustic guitar. In other cases, you can hear every instrument but it just sounds very bland. This fix, although easy, can take a little bit more time to resolve because it involves changing how you are mixing.
Just like many of you, I was thrown into the fire during the spring/summer of 2020 when everyone was making the shift to online audio. Little did I know the problems in church broadcast audio I would encounter, but this was the main issue I faced. My mixes sounded great for FOH, but I had no idea how to produce the same results for online.
My Mixing Story
My journey of overcoming problems in church broadcast audio began during the pandemic when we suddenly had to prioritize our online presence. Despite having similar equipment (Behringer X32 for broadcast, M32 for FOH), I discovered that mixing for broadcast required a different approach. At FOH, I was mixing purely to make the room sounded good. I needed to make a shift to not only make the room sound good but online as well.
Part of the issue was that the Technical Director at that time had the final say in the broadcast mixes so I could not implement what I wanted to. Our ideas for improvements to online audio were not aligned, but I did what they asked me to do. Once that person left a few months later, another Technical Director was hired, Joe Guadarrama, and we clicked right away and were able to dramatically improve our mixes in less than 2 months. He is someone I still work with today and has been a great resource and friend to work in production together.
It was through the fire that I was able to come up with a system that could work in any situation. This experience showed me that with the right system, you can achieve consistent results regardless of your specific equipment or environment.
Specific techniques for creating more energy in broadcast mixes:
Compression strategies
Strategic compression is one of the most effective tools for addressing problems in church broadcast audio, especially when dealing with dynamic performances. Having multiple layers of compression is key to any modern mix. Most consoles and pretty much every DAW can have 4-8 levels of compression with no issues. T’s know what type of compression you should use and when.
- Use heavy compression to add more character and saturation to the source
- Use light compression to tame the peaks and produce a more natural tone
- Use at least 2 layers of compression for vocals
- Se a Mix Bus and Master Bus compressors
Having each compressor do a specific job will produce better results versus having one compressor doing all of it.
Mid-range EQ techniques
Proper equalization is essential for solving numerous problems in church broadcast audio, particularly when it comes to vocal clarity. Every audio source is fighting for space between 400Hz and 2k. However, each instrument does have it’s sweet spot.
- 400Hz-600Hz adds warmth but too much here sounds muffled and woody. Cut Drums and Keys here
- 600Hz-900Hz is where most of the overtones tend to live. Too much here will sound boxy. This is also the range where I call it the “shouting frequency” frequency. When they shout into the mic, these frequencies jump a lot.
- 900Hz-2k is where you can make an instrument or singer move forward or in your face in the mix or push them back to make them sound wider in the mix
Strategic use of dynamic effects
You could use dynamic EQ’s to provide space in certain frequencies. I would consider these advance techniques for beginners so I would focus on Compression and EQ before advancing to these tips.
- Use a Side-Chain Compressor on the Bass to be reduced by 3dB momentarily when the Kick hits
- Use a side-chain EQ on the guitar bus at 1k when the singers are singing.
- Use a DeEsser plugin to reduce only frequencies above 6k
I would only set these up if you know your team can replicate your results when using these advance processing tips and if you have consistent and proper gain structure. Most of these plugins rely on receiving audio at a certain level and if the levels are not correct then the mix won’t sound the same.
Let’s continue our examination of problems in church broadcast audio by addressing vocal clarity issues.
Church Broadcast Audio Problem #6: Vocal Clarity Issues

Specific challenges with sermon audio clarity
You can feel a lot of pressure when trying to get the preacher to sound natural, clear, and impactful. Nobody will notice you if the preacher sounds good, but as soon as that high pitch ringing starts to fade in then the eyes of the world seem to settle on you.
To add to this, every person speech and stage presence are different. One person will want a headset but the talk softly and have a beard, another person talks loudly but the headset mic is pointed at the audience. Another person will want a handheld mic but hold it at their chest, and the person will grab the mic at the capsule and shout so the congregation at the other church can hear them.
I say this not to mock anyone, but to show that there is a lot of variables that we as audio engineers deal with al the time. So what are some techniques we can use
EQ techniques for improved speech intelligibility
- Clarity and intelligibility is typically around 4k to 4.5k. Boosting here will let people hear what is being said or sung better.
- Harshness tends to live between 2k to 3.5k. A small dip here will allow people to hear the message or singer without the pain
- Reducing 400Hz will help clean up the sound
- Boosting 8k and above will make the voice sound more open, airy, and my opinion, more natural.
Compression settings for consistent vocal presence
For singers, you should try to have at least two layers of compression. The first should be a light compression to grab the peaks and the second heavier compression to add character and push the singer forward.
For preachers, I would have a 5:1 Ratio compression of no more than 5 dB reduction to tame the peaks and then a DeEsser to reduce the sibilance.
Managing multiple speakers with different vocal characteristics
I have the same starting point for every preacher and MC. I dip 3k and 400Hz and then I listen for what else needs to happen on the EQ stage. I always want the compression to reduce by no more than 5 dB under normal talking volume.
The trick is when you are dealing with soft speaking people. If they talk softly and hold the mic far away, then you naturally will want to boost the volume or gain. Unfortunately, this raises the noise floor and creates a more likely scenario for feedback to occur. Proper coaching of mic positioning and if you can, boost the mic from the transmitter or receiver beforehand will help in reducing the likelihood of feedback.
If you have a loud speaker, then you might encounter distortion from the mic. Again, proper mic technique and gain adjustment at the transmitter or receiver levels will help as well.
How to Get Better Results
You may feel, as I once did, that there are so many issues that I can’t get a good mix no matter what I try. But the reality is that the problems in church broadcast audio are not an immovable mountain and you are just stuck with what you got.
There could be several barriers that stand in your way to getting a better mix, but I am here to help you break through the barriers that are in your way. Part of my story is that I had a friend where we worked together to come to a solution. You can only get so far on your own and having someone to come alongside and being a source of encouragement is critical.
By systematically addressing these problems in church broadcast audio, you’ll create a more engaging and professional sound for your online ministry.
Conclusion
The problems in church broadcast audio we’ve discussed may seem technical, but addressing them serves a greater purpose—ensuring your message reaches online viewers with clarity and impact. Improving your church’s broadcast audio quality isn’t just about technical excellence or sounding good to please people—it’s about effectively communicating the message of Jesus to those who aren’t physically present. Each improvement you make serves the greater purpose of clearly communicating the gospel.
Remember that consistency is key—develop systems that work for your specific environment and can be replicated by your volunteers. Don’t be discouraged by setbacks; audio engineering is a journey of continuous learning and improvement. By addressing these common problems with the solutions we’ve discussed, you’ll be able to create broadcast audio that connects with your online congregation in powerful ways, allowing them to focus on the message rather than technical distractions. Your ministry deserves to be heard clearly, and your congregation—both in person and online—will appreciate your dedication to excellence.
Take Your Church Broadcast Audio to the Next Level
Now that you understand the common problems in church broadcast audio and how to address them, you’re ready to implement these solutions in your own ministry. But knowing what to fix is just the beginning—having a systematic approach is what will truly transform your church’s online sound quality. That’s why I’ve created the “5 Simple Steps to Transform Your Church Audio” guide specifically for worship leaders and church sound technicians like you.
This free resource takes everything we’ve discussed in this article and organizes it into a practical, step-by-step system that you can implement immediately. You’ll receive not only the core framework but also bonus content with specific settings and techniques tailored for church environments. Hundreds of churches have already used this guide to dramatically improve their broadcast audio quality and expand their online ministry reach.
Ready to eliminate audio problems once and for all?
- Download the free “5 Simple Steps” guide using the form below
- Apply these proven methods during your next service
- Experience the difference in clarity, consistency, and overall audio quality
Don’t let problems in church broadcast audio diminish your ministry’s effectiveness online. With the right approach, you can overcome these challenges. Get your free copy of the “5 Simple Steps” guide today and start creating broadcast audio that truly serves your ministry’s mission.