Introduction
Today we are going to look at Snare Drum processing in our Baseline Series. I will provide a brief explanation of what the different aspects of the Snare Drum. Additionally, I will talk about where the starting point should be for EQ and Compression as well as Tone. The Baseline Series helps you eliminate guesswork, enabling you to create music faster and achieve great-sounding mixes. If you are new to the Baseline Series, then I encourage you to read my first post on the subject and Subscribe to be notified when a new post comes out. Let’s get started!
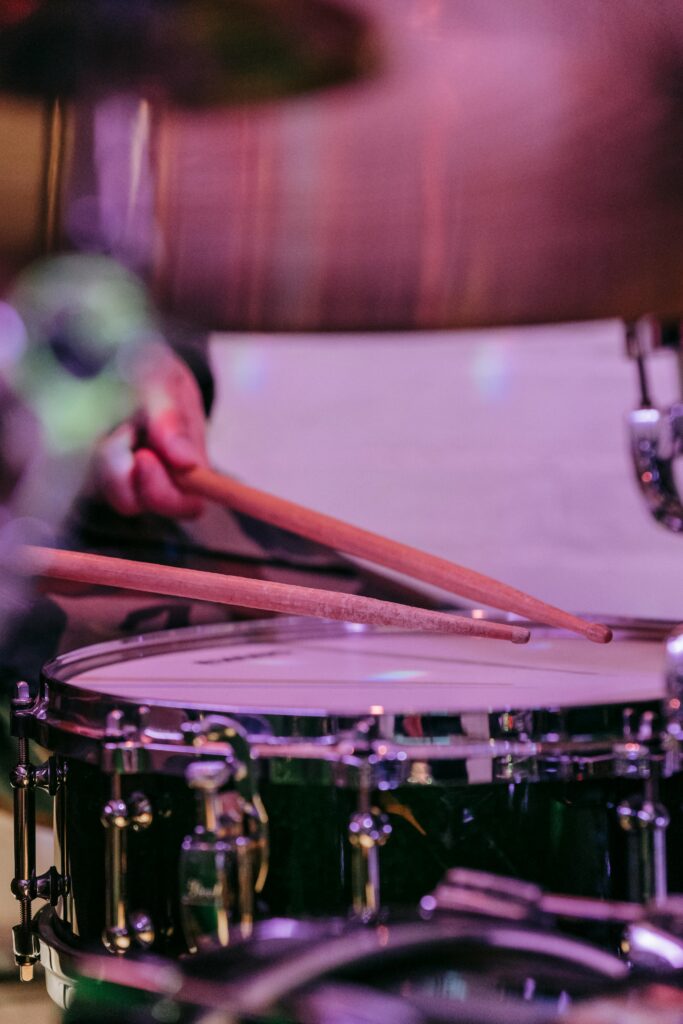
The Snare Drum
The snare is probably one of the most defining elements in a drum kit. Each element in the kit is unique, but the snare tends to be the most noticeable. There are many different kinds of snare’s in terms of size and tones that it can be used in almost any musical application. Also, the tone can vary depending on how you hit the snare and with what object. Most snare’s that you will find in a church setting are 6 inch depth and 12-14 inches in diameter. A 5 inch depth snare will be a higher pitch whereas an 8 inch depth snare will have a deeper tone.
The snare is one of the primary instruments to keep time and is generally played opposite the kick drum. The snare’s tone is such that it can cut through almost any instrument in the mix which can help with keeping time.
Let’s dive into the baseline settings when processing the snare. Keep in mind that these settings can be used for any console and any DAW whether you are using stock or third party equipment and plugins.
Snare Drum Processing: Noise Gate
The first plugin used in snare drum processing, after Gain, is the Noise Gate. If you are not careful, the gate can often be overused which impacts the overall tone. You should only apply gating as much as necessary. If you’re too aggressive with the settings, you will need to monitor the gate closely—turning it off for quieter parts and activating it again for louder ones. This adds another layer of complexity to your workflow.
Using a gate on a snare drum effectively can be very difficult due to the amount of bleed from the other elements in the kit. Especially, the Hi Hat and Cymbals. So we need to find a way to gate the snare enough to get rid of the bleed, but not too aggressive. If you are too aggressive with the gate, you will have two problems:
- You eliminate Ghost Notes
- These are the soft hits where you hear mostly the snare wires
- Sudden boost in volume from the cymbals
- This is typically during a loud chorus when the snare triggers the gate to open and all of the cymbal bleed comes through.
During this stage of snare drum processing we need to find the right settings on the Noise Gate with the overall Drum volume. We want the Drum mix to sound balanced and tight. You want to be able to hear each element without the drums sounding washed out or have random volume fluctuations.
Gate Settings
We are only putting a Noise Gate on the Top Snare Mic. If you have a bottom snare microphone, do not use a Noise Gate. Leaving the bottom mic open will allow you to hear the ghost notes and help with the Drum Kit to sound more open and natural.
A typical gate will include the following controls: Threshold, Attack, Hold, Release, and Gain Reduction. Here are some suggested settings for gating the snare drum:
- Threshold: -20 dB +/- 2 dB depending on how sensitive the Mic is.
- Adjust the Threshold to go as low as possible before the other elements of the kit trigger the gate to open.
- Attack: Less than 1 ms
- Hold: 50ms
- Release: Between 300 ms and 500 ms
- The Attack, Hold, and Release settings allow for the snare to open quickly and let the volume decay naturally
- Gain Reduction: -12 dB
- This will reduce the volume enough so the gate is effective but you still get a overall blend of the kit.
Snare Drum Processing: EQ
Next in the snare drum processing is EQ. When EQing the snare, the goal is to enhance the punch and smack. To achieve this, we will use a combination of boosts and cuts. Depending on the console or DAW you are using, you will typically have at least four EQ frequencies to work with whereas some may offer up to six.
I want to make sure this is applicable in any situation. So I will outline four key frequencies that most significantly affect the snare drum, along with two additional bonus frequencies. If you have a preset with the EQ set to these frequencies, all you’ll need to do is make the necessary boosts or cuts—no need to search for the right frequencies. Don’t be afraid to boost or cut by as much as 15 dB if it’s required.
Although you can use multiple EQ plugins in a DAW, this approach is not efficient and can be difficult to replicate on budget-friendly consoles. It is best to minimize processing on your computer when handling a broadcast mix. These settings are inspired by a vintage analog console
High & Low Pass for Snare Drum
Most consoles and DAWs will have a High Pass and a Low Pass. Since these generally come by default, I am not including them in my four frequencies.
- High Pass/Low Cut at 80Hz:
- This will get rid of any low rumble from the Kick Drum. The Snare, typically, does not go lower than this frequency.
- Low Pass/High Cut at 15k
- This will reduce the amount of higher frequencies to give a natural role off
4 EQ Frequencies for Snare Drum
- Boost at 9.5k or 8k:
- Use a boost at 9.5k for a bell curve or at 8k for a high shelf. This frequency adds “air” to the snare. A wide boost here tends to open up the tone and create a spacious feel. I usually prefer a bell curve, but when using an SSL EQ, the high shelf often sounds better. This is where the snare really stands out if you are looking for that “shotgun” snare.
- Boost or Cut at 2.5k:
- This frequency captures the smack of the snare. I am looking to boost here. However, if the snare sounds too harsh and there is too much Cymbal bleed, then I will cut here.
- Cut at 700Hz:
- Apply a wide cut at 700Hz to clean up the tone. Removing frequencies in this range gets rid of the “basketball” sound from the snare.
- Boost at 120Hz or 200Hz:
- Use a boost at 120Hz with a bell curve or at 200Hz with a low shelf. You may need to go higher for smaller snares. Identify the pitch and boost just below it. Boosting here, paired with a boost in #1 brings a lot of power in the snare and you get a full body tone from your snare.
2 Bonus Frequencies
- Cut at 250Hz:
- Cutting here will remove most of the unpleasant “ringing” that comes from the snare. This is tricky because the ring happens just above the fundamental note of the Snare. But if you go to this frequency and make a narrow cut will reduce the ring and clean up the snare.
- Boost or Cut at 1k
- This is another frequency that can either push the snare forward in the mix or get rid of some unpleasant midrange frequencies.
Snare Drum Processing: Compression
I would argue that one of the most important aspect of snare drum processing is compression. There are many different methods for compression snare drum processing. Many of them are, in my opinion, conservative in their approach. I like to be a little more aggressive in my approach, but still have room for dynamics so the sound is not in your face during quieter moments.
Part of using an aggressive approach to compression is that when dynamics are loud, there is some saturation which takes away some of the harshness of the snare. However, leaving some room for the softer hits so it blends with the rest of the instruments.
If you’re not familiar with compressor settings, you’ll generally encounter Threshold, Ratio, Attack, Release, Knee, and Make-Up Gain. Use the following parameters as a baseline for compression to achieve the ideal balance of dynamics and punch. These settings are inspired by a vintage analog console:
Compressor Settings
- Threshold: -18 dB
- Ratio: 5:1
- Attack: 30 ms
- Release: 100 ms
- Knee: Soft
- Gain Reduction: 5 dB
With these settings, you should achieve around 3-5 dB of gain reduction. Make sure to adhere to the gain levels recommended in my Gain Structure Guide. I’d suggest setting the gain level during the loudest sections of the song, such as the chorus, to get an accurate representation of the snare’s volume.
Notice that I didn’t mention using Make-Up Gain. Many people suggest using it because you’ll be reducing the volume of the instrument and you “should” make up the volume. However, I believe it’s unnecessary and can introduce another volume variable that you might overlook. Trust that there will be sufficient volume if you set the gain correctly. In this case, using Make-Up Gain isn’t required.
Snare Drum Processing: Triggers and Multi-Channels
Part of the snare drum processing that is overlooked at times is using Triggers and processing multiple channels. I will touch on some of these additional elements and how you can best use them.
Triggers
A rule I like to use when it comes to Triggers (aka Replacements) is only use them when you need them. I have seen a lot of people use triggers as a handicap instead of enhancing the sound. I used to not like Triggers because that is how I saw people use them. However, once I started mixing in the studio and online more, I did see the value in them. If you are new to Triggers then I would suggest using Steve Slate Triggers 2 for Free. The free Kick and Snare tones that come with the software are actually really good.
When you use triggers is key. Here are some principles you should have when using triggers.
- Don’t Rely on Triggers:
- If the real snare sounds bad, then try to fix it before using Triggers to replace
- Do not use Triggers by itself unless you absolutely have to.
- Blend Triggers with the Real Sound
- When the real drum sounds good you can blend the Trigger tone to supplement the real drum
- Make sure the Trigger Tone sounds close to the real drum
- If you can make your own sample, then do it. This will make the kit sound more believable
- Adjust the Sensitivity
- Have the sensitivity low enough so that you can capture the quieter hits as well as the loud hits. Make sure the sound actually matches with how hard the drummer is hitting the drum.
Multi-Channel Processing
With snare drum processing, there is the potential of having 3 channels to process all at once, the Snare Top, Snare Bottom, and Snare Triggers. This is easier to do in a DAW, but if you have enough Busses and you can route a Bus Channel into another Bus Channel, then you could send all of the channels to a Snare Bus Channel. Use the Gates on the Input Channel level and then EQ and Compress the Bus Channels so you are doing one layer of processing instead of 3.
Most budget consoles are not setup for this so don’t worry about it too much. Since all of the Drum channels are being sent to a Drum Bus anyway, it is nothing to stress over.
When blending each channel, obviously use your ears to determine what sounds good. However, I have noticed that the bottom snare volume fader is usually between 5-10 dB less than the top snare. Any more than that, you tend to get phasing issues and the impact of the snare gets lost.
Snare Drum Processing: Tone
Everyone is looking for that killer snare sounds like Bethel Church or Chris Lord Alge. The first place everyone runs to is the console or DAW plugins and start messing with the EQ and Compressors. But the thing that 90% of the people forget to do is check the snare itself. Snare drum processing is only part of the equation. You have to have the right snare for the job.
A Piccolo snare is not going to sound big and fat no matter how hard you try. The tone you get is 80% from the snare itself. The shell materials, the lugs, the heads, the snare wire and drumstick all play a part in shaping what you hear. So make sure you get the right snare for the job. Most drummers are going to bring their personal snare so you will need to work with what they have.
Around 80% of the overall sound comes from the instrument itself. Therefore, it’s essential to maintain the snare drum by replacing the heads at least twice a year, especially if it’s used weekly. The snare bottom head only needs to be changed out once per year. Always check for any loose hardware before a performance. You should always tune the snare before the performance, or ask your drummer to. Not taken proper care and maintaining the snare will cause issues in tone.
Affiliated Products
Hear are my recommendations on equipment for the snare drum. All of these are affiliated links, but I have used these products and stand by them. If you or your church have a default snare or you are a drummer wanting some recommendations, here you go!
Snare Drum Heads and Wire
- Heads and Snare Wire – By far these are the most important elements of the tone. However, the key to make your snare sound huge is the number of snare wires. Most snares come with an 18-20 strand wire, but if you want your snare to sound huge, then you need to have more wires. If you want recommendations for other Snare sizes then let me know in the Contact Me form.
- Top Head: Remo Powerstroke P3 14inch
- Bottom Head: Remo Ambassador Hazy 14inch (2 pack)
- Wires: 30 Snare Wire, 42 Snare Wire
Snare Drum Microphones
- Microphones – I am very familiar with the Shure SM57 and Audix i5 microphones used for snare. I felt the Audix i5 was best suited for the snare bottom mic because it provided some additional high frequency air and rattle. The SM57 for the Top Mic is hard to beat. It’s neutral response allows the snare’s tone to come out.
Other Equipment
- The Snare – Snares are very subjective and it is difficult to recommend snares because each drummer has their own style of playing. However, if you are looking for a snare that is very versatile and can be used in almost any situation, I would recommend the following;
- 1st Tier – Ludwig Black Beauty
- 2nd Tier – Ludwig Acrolite
- 3rd Tier – Ludwig Supralite
- Other equipment –
Conclusion
Mastering snare drum processing requires a holistic approach that combines proper technique, equipment selection, and creative problem-solving. By understanding the unique characteristics of the snare drum and applying noise gates, EQ, and compression techniques, engineers can craft a powerful yet balanced sound that enhances the overall mix.
Remember that the snare’s tone comes from the instrument itself, emphasizing the importance of selecting and maintaining appropriate equipment. Whether working in a professional studio or a live setting, these baseline settings serve as a solid foundation upon which to build, allowing you to focus on creativity rather than guesswork in achieving exceptional snare drum performances.
Make sure you sign up below to know when I release new content so you can keep growing your skills as an audio engineer and become the new wave in music production.